
Creating with ICT: Level 3
Generate solutions to challenges and learning area tasks
Create and modify simple digital solutions, creative outputs or data representation/transformation for particular purposes.
Task 1
Practise some Photoshop Basics
- Change the foreground colour. Set the palette to Only Web Colours.
- Use the paint bucket to colour the background.
- Change the colour and draw a shape on the background.
- Use the rubber to rub out the shape. Notice the background also goes.
- Add a new layer (Layer Menu > New > Layer).
- Use the paint pot to colour the background.
- Change colour and draw a circle.
- Use the rubber to rub out the shape. Notice the background stays.
- Add some more shapes in different colours, each in a new layer.
- Name each layer the name of the shape. Fill some shapes.
- Move the shapes around.
- Use the Text Tool to write the names of the shapes.
Task 2 – Pirate Flags
Research Pirate Flags
Find out here where pirate flags came from and why they were used.
See the flags of some famous pirates here.
See some more flags of famous pirates.
See colours and symbols are used on pirate flags.
On our Padlet Board, make a list of symbols and colours that could appear on a pirate flag.
[Teachers can create a Padlet Board here.]
Create a Pirate Flag
Based on what you have learned about pirates and their flags, design and create a pirate flag using Photoshop.
Example Task – Pirate Flag

Task 3 – Research a Pirate
Go here to choose a pirate to learn about.
Click on the pirate’s flag to find information. You are the King and you are sick of pirates terrorising the crew of your ships at sea. Find out some details about your pirate so that you can make a WANTED poster to help that pirate be caught.
Task 4 – Wanted Posters
Research Wanted Posters
Do a Google search for examples of wanted posters and click on Images.
Look at at least 10 wanted posters and make a list of the features you see on them. Add these features to our Padlet Board.
[Teachers can create a Padlet Board here.]
Create Wanted Posters
Based on what you have learned about the pirate you chose and what you learned about wanted posters, design and create a wanted poster for this pirate, using Photoshop.
- Choose a poster template from a free selection offered by Twinkl
- Open the poster in Photoshop to work on it.
- Include features from the list compiled in the Padlet when you researched Wanted Posters.
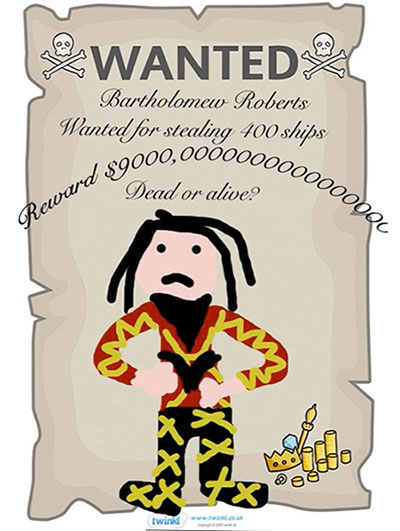
Example Task – Wanted Poster
Template designs – free resource from from Twinkl
Task 5 – Treasure Map
Pirates hid their loot (treasure). Often they made a map so they could come back to find it later.
Look at these treasure maps and make a list of the features you would find on a treasure map. Add to the list on our Padlet Board.
Based on what you have learned about about treasure maps, design and create a treasure map using Photoshop.
Example Task – Treasure Map

Task 6 – Presenting your Work
When all your work is done you will learn to make your images suitable for using on the internet. You will learn this here.
Finally you will present all your work in Keynote with a menu page that links to each of your creations.
See examples of completed presentations here. [internal school link only]
Australian Curriculum – Level 3 ICT Continuum
Investigating with ICT
Locate, generate and access data and information
- View a range of pirate flags, wanted posters and treasure maps online and make a list of features included.
Creating with ICT
Generate solutions to challenges and learning area tasks
- Create and edit images using Photoshop.
Communicating with ICT
Collaborate, share and exchange
- Use appropriate ICT tools (Padlet) safely to share and exchange information with appropriate known audiences. List features of treasure maps as located.
Managing and Operating ICT
Select and use hardware and software
- Introduction to Photoshop. Compare its functionality with that of KidPix for creating images.
Manage Digital Data
- Save Photoshop files as psd files to continue editing.
- Save Photoshop files in jpg format for online publication.
- Import jpg files into Keynote.
- Compile task products in a hyperlinked Keynote presentation with links stemming from a menu page to each item which is then linked back to the menu page.